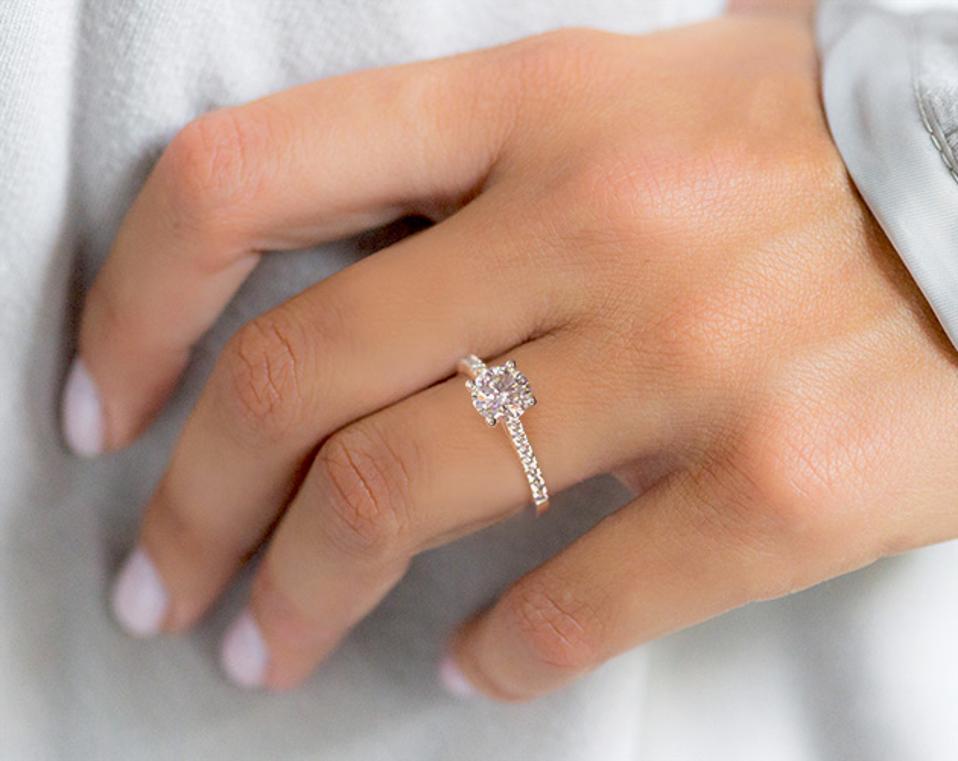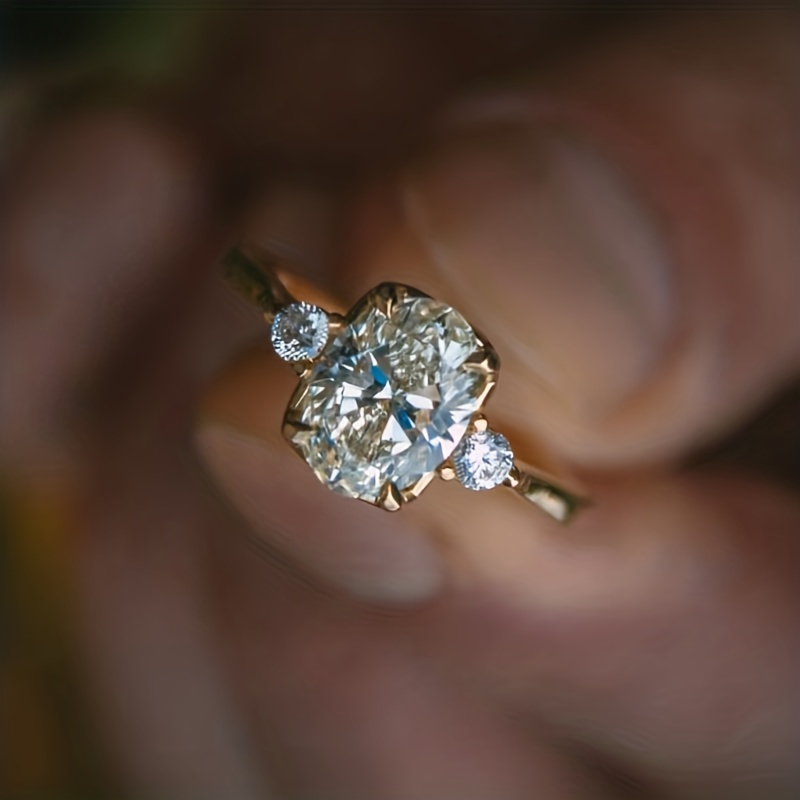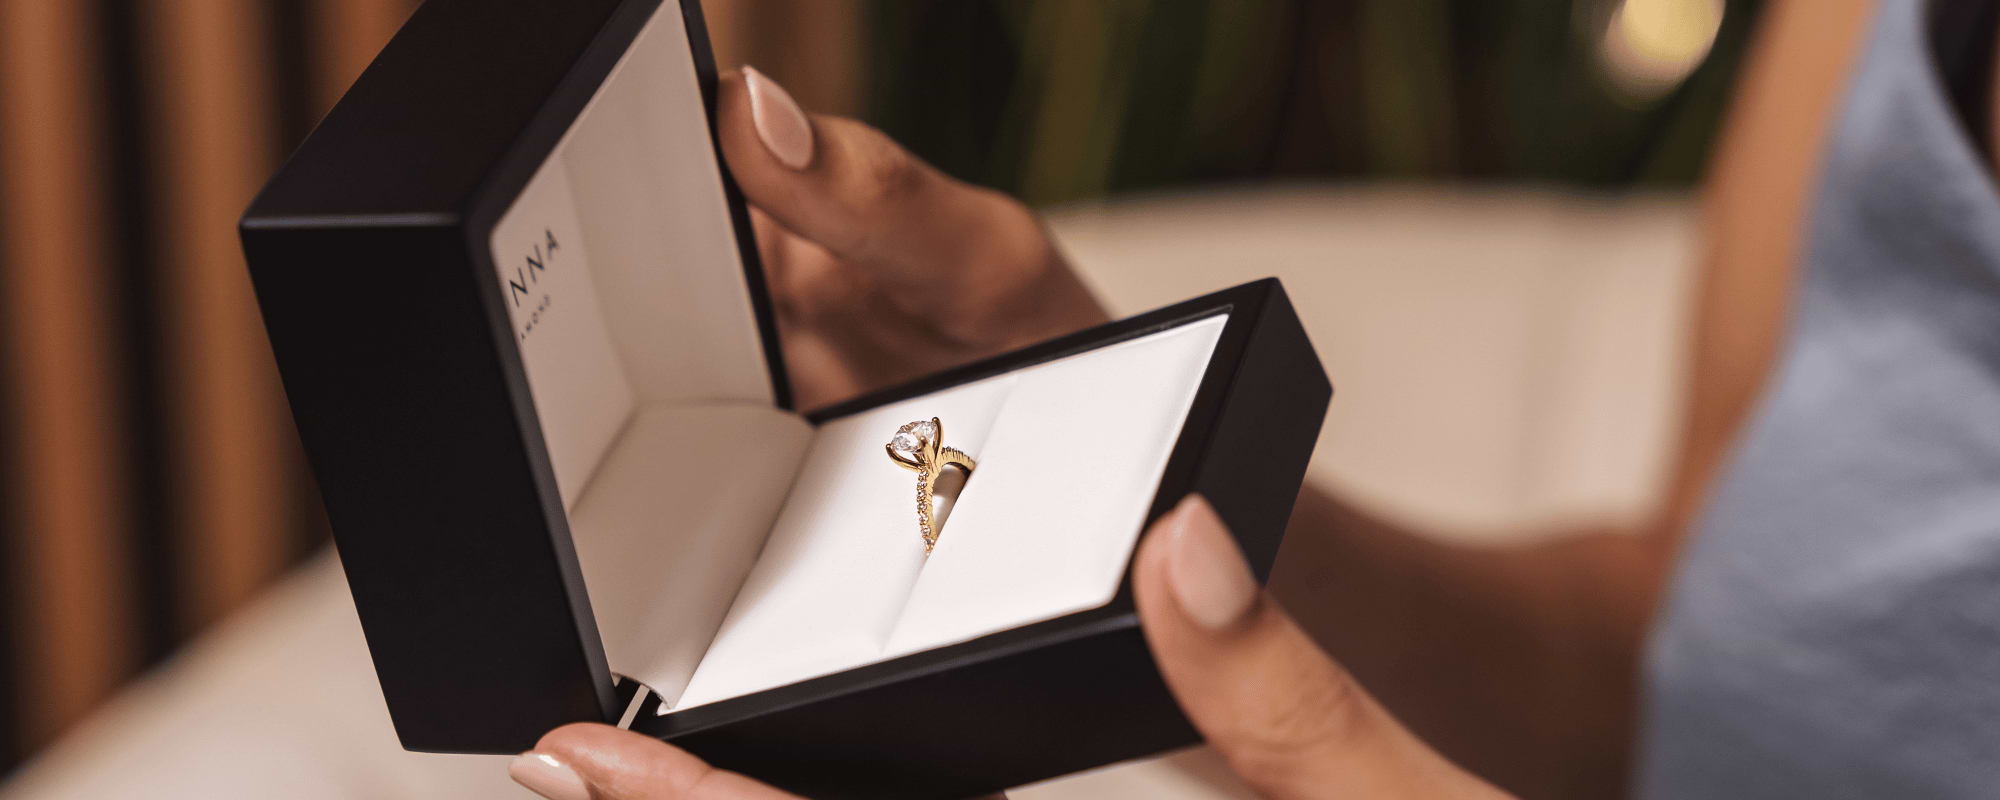

Limpiar diamante offer a sustainable and cost-effective alternative to natural diamonds. These diamonds, while chemically identical to their natural counterparts, require specific care to maintain their brilliance and clarity. In this guide, we will walk you through the process of cleaning lab-made diamonds to ensure they remain sparkling and beautiful.
Understanding Lab-Made Diamonds
Lab-made diamonds are genuine diamonds created in a controlled laboratory environment using two main techniques: High Pressure High Temperature (HPHT) and Chemical Vapor Deposition (CVD). Both methods produce diamonds that are identical in composition to natural diamonds but offer advantages such as affordability and reduced environmental impact. Knowing this will help you appreciate the importance of proper care.
The Importance of Cleaning Lab-Made Diamonds
Regular cleaning is essential for maintaining the shine of your lab-made diamonds. Despite their hardness, these diamonds can accumulate dust, oils, and other residues that may dull their appearance over time. Proper cleaning not only enhances their brilliance but also allows you to inspect the diamond for any signs of damage or wear.
Preparing for Cleaning
To clean your lab-made diamond, you will need a few basic items. Begin by gathering mild soap, warm water, a soft-bristled toothbrush, a microfiber cloth, and a small bowl. These materials will ensure you can clean your diamond effectively without causing any damage.
Cleaning Procedure
Preparing the Cleaning Solution
Fill a small bowl with lukewarm water and add a few drops of mild soap. Mix the solution gently to create a soapy mixture. It is important to use lukewarm water to avoid any thermal shock that could potentially harm the diamond or its setting.
Soaking the Diamond
Place the diamond into the soapy water and let it soak for approximately 15 to 20 minutes. This soaking time will help to loosen any accumulated dirt, oils, or residues. The longer soaking time ensures that all trapped particles are softened for easier removal.
Gently Scrubbing the Diamond
After soaking, use a soft-bristled toothbrush to gently scrub the diamond. Focus on areas where dirt and residue may be trapped, such as around the setting. It is crucial to be gentle during this process to avoid scratching the diamond or damaging the setting.
Rinsing the Diamond
Once you have scrubbed the diamond, rinse it thoroughly under lukewarm running water. This step removes any remaining soap and debris. To prevent the diamond from falling down the sink, cover the drain with a plug or a cloth during the rinsing process.
Drying and Polishing
After rinsing, pat the diamond dry using a clean microfiber cloth. Avoid using paper towels or tissues, as they can scratch the surface. Once dry, use another clean microfiber cloth to polish the diamond, enhancing its natural shine and brilliance.
Tips for Maintaining Lab-Made Diamonds
Regular cleaning is vital for preserving the beauty of your lab made diamonds. Consider having them professionally cleaned and inspected at least once a year to ensure they remain in top condition. Avoid using harsh chemicals or abrasive cleaners, as these can damage the diamond or its setting. When not wearing your diamonds, store them in a soft cloth pouch or a jewelry box to protect them from scratches and other damage.
Conclusion
Cleaning your lab-made diamonds is a simple yet essential task to keep them looking their best. By following the steps outlined in this guide, you can ensure your diamonds maintain their sparkle and continue to be a cherished part of your jewelry collection. Regular care and maintenance will help you enjoy the brilliance of your lab-made diamonds for many years to come.